
Sourcing & Verification
Blueprint string reproduced byte-for-byte from community submission #68 on sandustryvault.com and published verbatim. We have not re-tested it in our own save. Footprint, power draw and throughput are not published by the source, so we do not state them.
Design Intent & Problem Solved
This portal setup creates a portal "double jump" past 2 launchers on first jump and 1 additional launcher for a second line on second jump. It utilizes culk blaster-created "thin walls" to help prevent tube buildup if the system overflows. It can be adjusted so that third launcher outputs to same location as first 2. You can also remove the second jump portals if you only need 1 jump.
Layout Render from the Original Submission
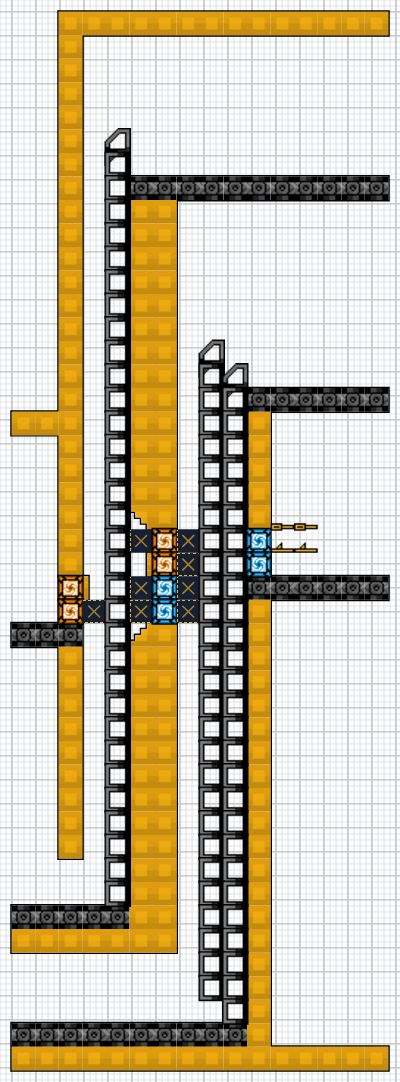
Layout Evidence & In-Game Captures
Machinery & Source Data
Machinery Types in the Payload
- Quantum Portal Exit
- Quantum Portal
- Clearing Frame Left
Community Adoption
- 2 in-game copies reported
- 2415 character string
Source Tags
- portals
Reported Footprint & Power
- Footprint: not published by the source
- Power draw: not published by the source
Safe Placement & Cold-Start Checklist
- Place the module in open space with 2-block perimeter clearance before connecting production lines.
- Confirm research prerequisites, conveyor speed match, and liquid drop-pipe heights.
- Leave an inspection gap so any blocked Shaker or mineral slurry overflow can be drained safely.
- Verify power grid capacity satisfies the initial startup spike before feeding raw ore.
⚠️ Known Failure Modes & Anti-Clog Safeguards
Not reproduced in our own save yet, so no failure modes are confirmed here. Check the linked original submission for any notes from the author.